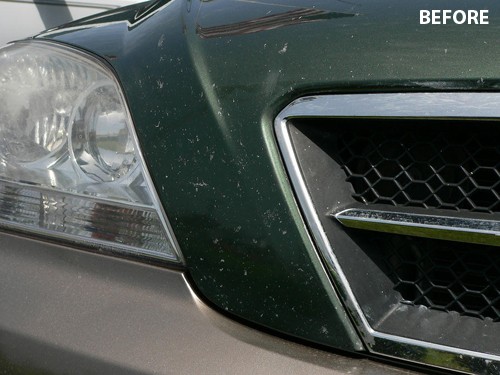
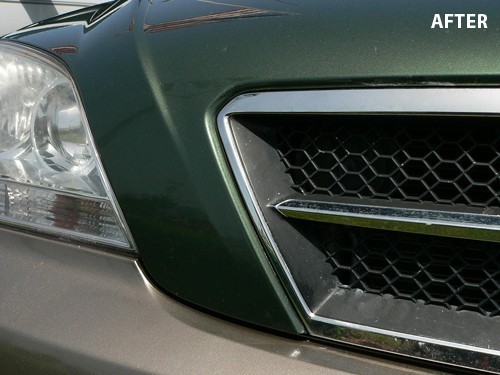
- Our simple 3-step process allows anyone to professionally repair chips in a fraction of the time it takes using regular factory touch-up paint or paint pens and provides far better results.
- Our paint is NOT the typical stuff you can buy at the local auto parts store or any dealership. It is a unique formulation of high-quality automotive tints and chemicals that when used properly, allow it to dry very quickly, enabling you to blend away all the excess paint in just minutes, leaving paint only in the chips.
- Our blending solution is also a proprietary concoction that is required to complete most repairs. When used according to the directions, you won’t find a faster, more simple and effective way to permanently repair chips.
See our FAQ page for more information and to help determine if our paint chip repair system is right for your vehicle.
DAB! SMEAR! REMOVE!
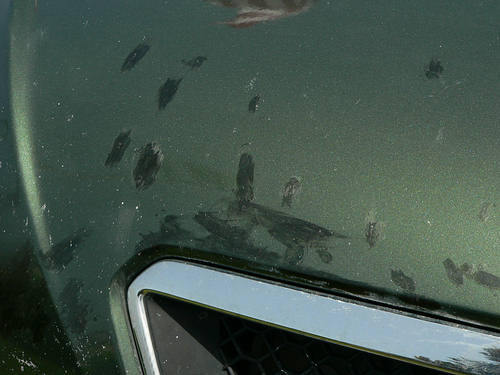
STEP 1: The paint is dabbed on with a brush, then lightly smeared with your thumb to smooth the paint flat and flush across the chip. It may be reapplied as needed until it appears to adequately cover the chip. If smeared properly, the paint will be dry to the touch within a minute. For road rash, the paint may be applied to a T-shirt rag, then smeared across the panel to quickly address hundreds of tiny chips at once.
STEP 2: The excess paint is then removed using our blending solution. The solution is applied to a soft, folded T-shirt rag and lightly rubbed over the excess paint. The paint will begin blending away after a few passes with the cloth. A soft terry cloth or microfiber towel is then used to buff off the residual solution to an amazing shine. This process may be done within 2 minutes to 2 hours after applying the paint. Although the paint is dry to the touch, it will still take about a week to fully cure. However, it may be immediately exposed to water without coming out of the chips.


